
The boys and I needed a handcraft to make for the Wild + Free handicraft fair and this was the perfect little project. While I plan on teaching my boys practical handcrafts – like sewing and woodworking – this time I needed something simple enough that my three year old could participate in.

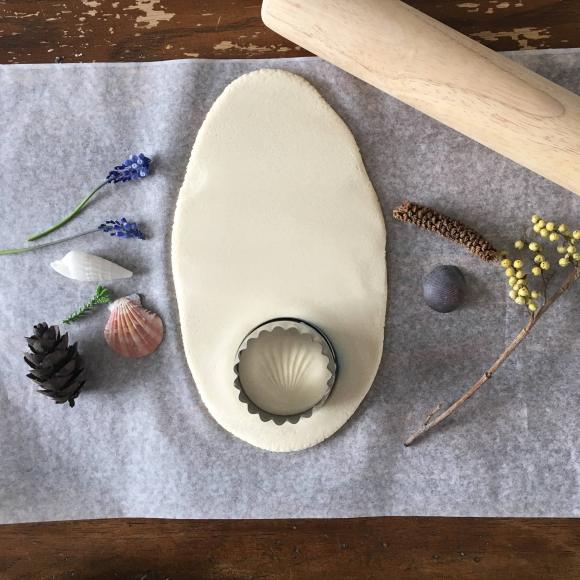
Salt-dough is such a neat medium to work with and very easy to mix up (my favorite recipe is below). We used cookie cutters to cut out the pendants and nature treasures from our nature collection to use as stamps.
Straws work perfectly to make holes for stringing the pendants into necklaces.

Once the pendants were all designed, we let them dry. Air drying is an option, but we were in a bit of a time crunch so we dried ours in the oven. We placed them on a parchment paper lined cookie sheet and dried them at 200 degrees for an hour on both sides. Then we left them on the counter overnight to completely dry out before painting.

Both of the boys got a paintbrush and some acrylic paint and painted the nature impressions, leaving the rest white. (You can also use watercolors or even crayons)
Once the paint was dry, I went ahead and brushed on a coat of clear polycrylic. Then, the boys strung some colorful beads onto a string and through the hole in the pendants. I tied them off and viola!

These would also make sweet little gifts for Christmas or birthdays.
Salt-Dough Recipe
2 cups of flour
1 cup of salt
1 cup of water
Thoroughly mix the first two ingredients together. Gradually stir in the water bit by bit, until you get a dough-like consistency. Form it into a ball and knead on a floured surface for 5 minutes. (If the dough gets too sticky, add some more flour.) Roll the dough out to about 1/4-inch thickness before cutting out the pendants with cookie cutters.
Discover more from Raising Up Wild Things
Subscribe to get the latest posts sent to your email.
2 thoughts on “Salt-Dough Nature Pendants”